Astrill Setup Manual:How to change your App Store country to Download Astrill VPN: Difference between revisions
No edit summary |
No edit summary |
||
| Line 77: | Line 77: | ||
== '''STEP 10:''' == | == '''STEP 10:''' == | ||
After verification ''' | After verification tap '''Continue''' to return to the '''App Store'''. | ||
Now tap in search box then type Astrill VPN and download it. | Now tap in search box then type Astrill VPN and download it. | ||
Revision as of 19:03, 31 July 2017
This tutorial is for iOS devices (iPhone, iPad, or iPod).
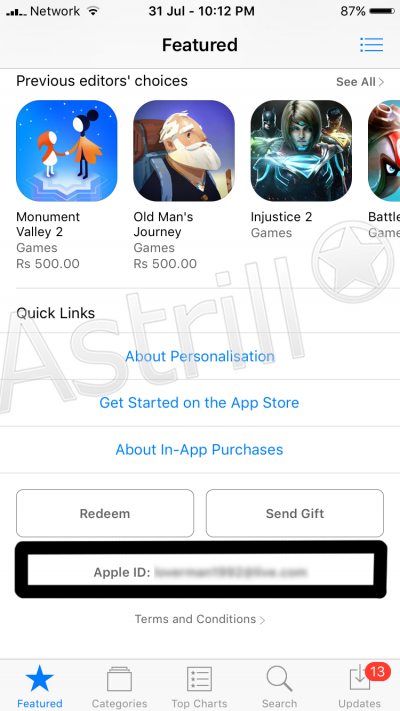
STEP 1: Go to the App Store.
Now scroll down to the bottom of App Store and tap the button which is showing your Apple ID.
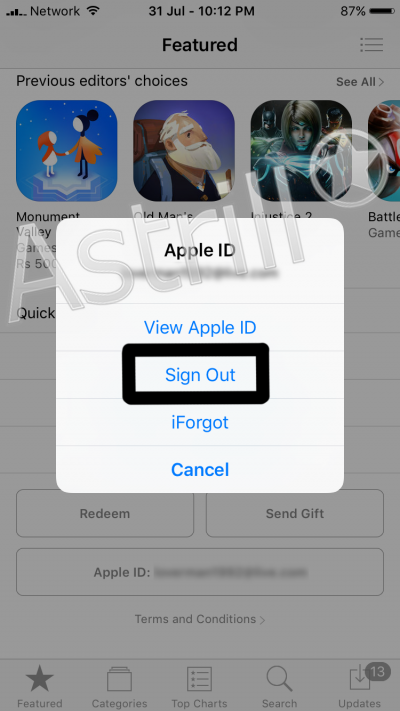
STEP 2: Tap Sign Out.
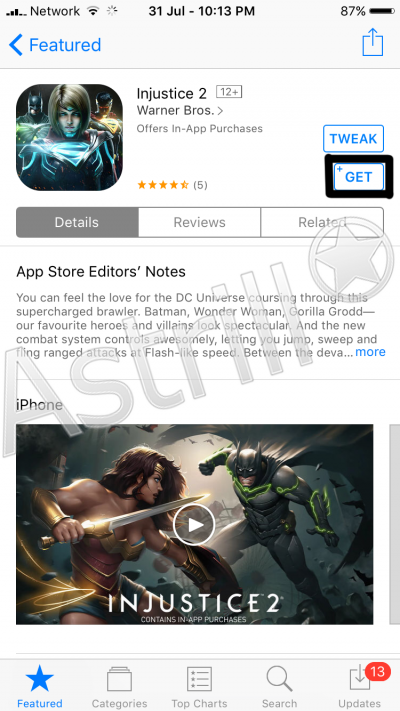
STEP 3:
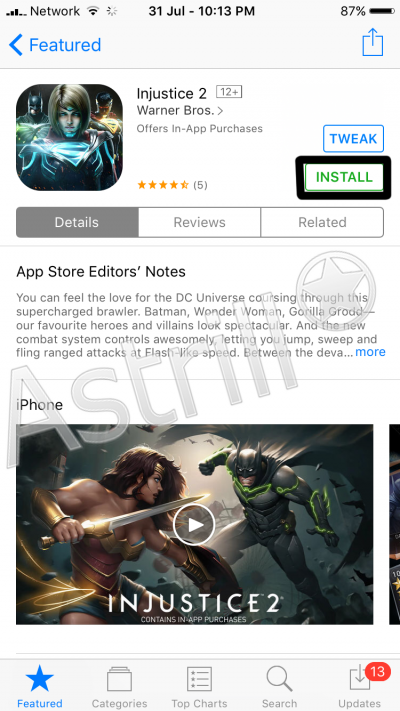
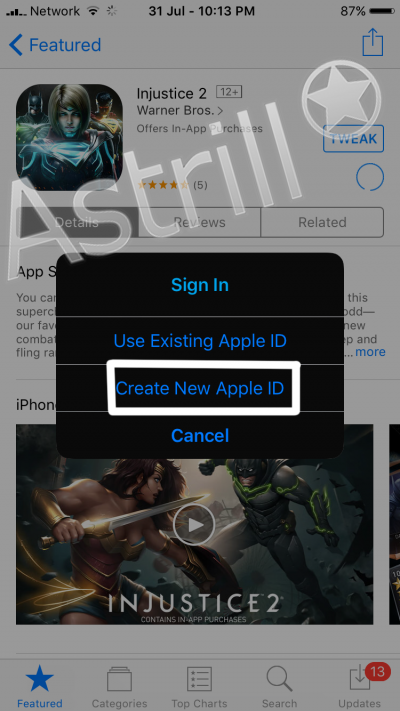
Now Look for any free app with the word GET next to it. (It doesn’t matter which app you use here, as long as it’s free. We need to find a free app so we can tell the App Store we do NOT want to set a payment method.)
STEP 4: Tap Create New Apple ID
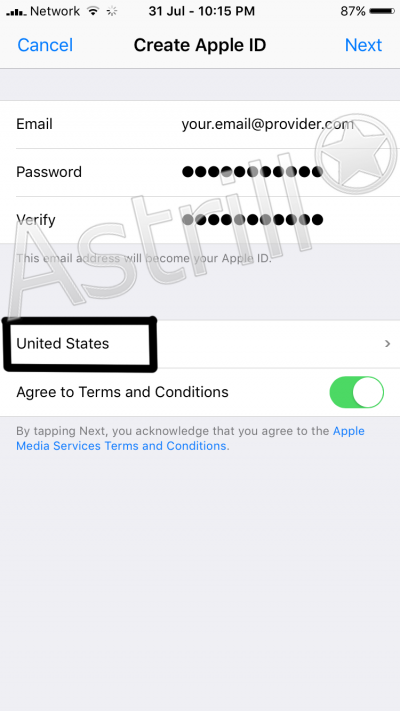
STEP 5: Email & Password Information
Fill out the email and password information with a different email address from your regular Apple ID.
Set the country to one where Astrill VPN APP is available, such as the United States. Slide the toggle to agree the terms and conditions.
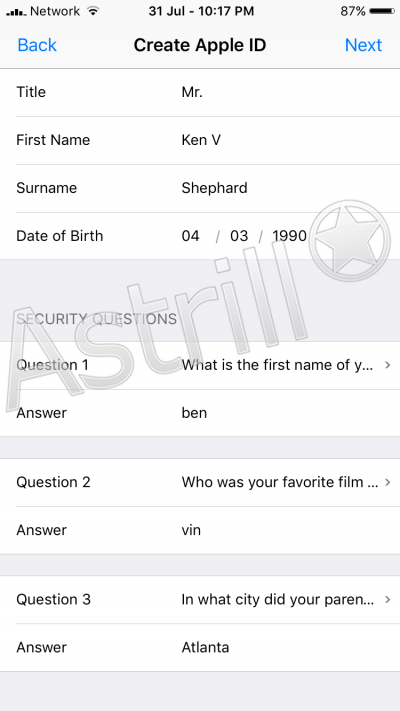
STEP 6: Personal Information
Fill out your personal information and security questions and answers.
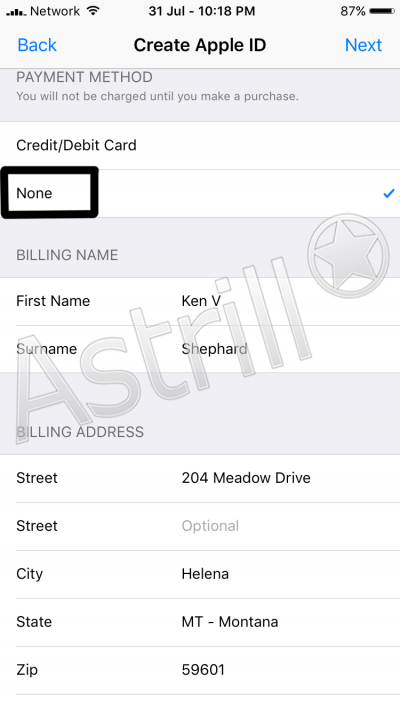
STEP 7: Payment Method
Under PAYMENT METHOD, select None. Fill out the billing information with a realistic address from the country you’ve chosen.
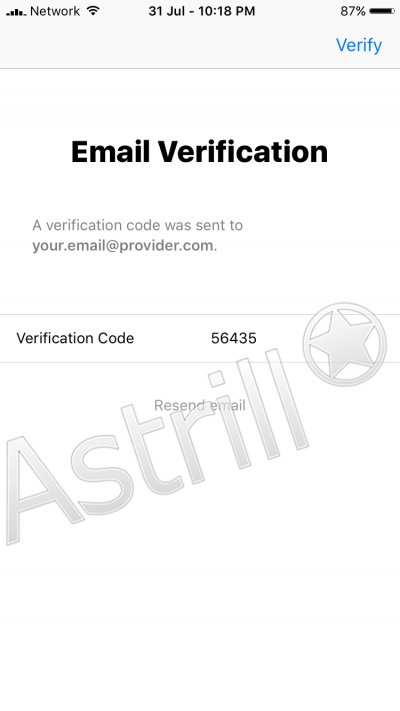
STEP 8: Verification
You will receive a verification code in your email. Enter your verification code, then click Verify.
STEP 10:
After verification tap Continue to return to the App Store. Now tap in search box then type Astrill VPN and download it.
