Astrill Setup Manual:How to configure SSTP with Windows built-in client on Windows 7: Difference between revisions
No edit summary |
No edit summary |
||
| Line 1: | Line 1: | ||
=='''STEP 1'''== | =='''STEP 1'''== | ||
Open Control Panel, then in | Open '''Control Panel''', then in '''Search''' type in '''network''', and click on '''Set up a virtual private network (VPN)''' connection. | ||
[[File:1.jpg]] | [[File:1.jpg]] | ||
| Line 7: | Line 7: | ||
=='''STEP 2'''== | =='''STEP 2'''== | ||
On Set Up a Connection or Network screen, select Connect to a workplace, then click on Next button. | On '''Set Up a Connection''' or '''Network screen''', select '''Connect to a workplace''', then click on '''Next''' button. | ||
[[File:2.jpg]] | [[File:2.jpg]] | ||
| Line 13: | Line 13: | ||
=='''STEP 3'''== | =='''STEP 3'''== | ||
On Connect to a Workplace screen, select Use my Internet connection (VPN). | On '''Connect to a Workplace''' screen, select '''Use my Internet connection (VPN)'''. | ||
[[File:3.jpg]] | [[File:3.jpg]] | ||
| Line 19: | Line 19: | ||
=='''STEP 4'''== | =='''STEP 4'''== | ||
For '''Internet address''' type in '''GTX1.ASTRILL.NET'''. | |||
For '''Destination name''' type in '''Astrill SSTP'''. | |||
Click on '''Don't connect; just set it up so I can connect later''' checkbox, and then click on '''Next''' button. | |||
Full list of available VPN servers can be found on Members section, (https://members.astrill.com/servers-list.php). | |||
[[File:4.jpg]] | [[File:4.jpg]] | ||
| Line 25: | Line 31: | ||
=='''STEP 5'''== | =='''STEP 5'''== | ||
For '''Username''' type in your Astrill account email, and for '''Password''' type in your Astrill account password. | |||
Click on '''Remember this password''' checkbox, and then click on '''Create''' button. | |||
[[File:5.jpg]] | [[File:5.jpg]] | ||
| Line 31: | Line 39: | ||
=='''STEP 6'''== | =='''STEP 6'''== | ||
Click on '''Close''' button. | |||
[[File:6.jpg]] | [[File:6.jpg]] | ||
| Line 37: | Line 45: | ||
=='''STEP 7'''== | =='''STEP 7'''== | ||
Click on Network icon in tray, under Dial-up and VPN, right-click on Astrill SSTP, and select Properties. | Click on Network icon in tray, under Dial-up and VPN, right-click on '''Astrill SSTP''', and select '''Properties'''. | ||
[[File:7.1.jpg]] | [[File:7.1.jpg]] | ||
| Line 43: | Line 51: | ||
=='''STEP 8'''== | =='''STEP 8'''== | ||
On Astrill SSTP Properties screen, click on Security tab, for Type of VPN select Secure Socket Tunneling Protocol (SSTP), then click on OK button. | On Astrill SSTP Properties screen, click on '''Security tab''', for '''Type of VPN''' select '''Secure Socket Tunneling Protocol (SSTP)''', then click on '''OK''' button. | ||
[[File:8.jpg]] | [[File:8.jpg]] | ||
| Line 49: | Line 57: | ||
=='''STEP 9'''== | =='''STEP 9'''== | ||
Click on Network icon in tray, under Dial-up and VPN, click on Astrill SSTP, and click on Connect button. | Click on Network icon in tray, under Dial-up and VPN, click on '''Astrill SSTP''', and click on '''Connect''' button. | ||
[[File:9.jpg]] | [[File:9.jpg]] | ||
| Line 55: | Line 63: | ||
=='''STEP 10'''== | =='''STEP 10'''== | ||
On Connect Astrill SSTP screen, click on Connect button. | On Connect Astrill SSTP screen, click on '''Connect''' button. | ||
[[File:10.jpg]] | [[File:10.jpg]] | ||
| Line 65: | Line 73: | ||
=='''STEP 11'''== | =='''STEP 11'''== | ||
Click on Network icon in tray, under Dial-up and VPN, click on Astrill SSTP, you will see status connected. Which indicates you are successfully connected to Astrill SSTP VPN. To disconnect from Astrill SSTP, simply click on Disconnect button. | Click on Network icon in tray, under Dial-up and VPN, click on Astrill SSTP, you will see status connected. Which indicates you are successfully connected to Astrill SSTP VPN. | ||
To disconnect from Astrill SSTP, simply click on '''Disconnect''' button. | |||
[[File:11.jpg]] | [[File:11.jpg]] | ||
Revision as of 04:25, 27 June 2017
STEP 1
Open Control Panel, then in Search type in network, and click on Set up a virtual private network (VPN) connection.
STEP 2
On Set Up a Connection or Network screen, select Connect to a workplace, then click on Next button.
STEP 3
On Connect to a Workplace screen, select Use my Internet connection (VPN).
STEP 4
For Internet address type in GTX1.ASTRILL.NET.
For Destination name type in Astrill SSTP.
Click on Don't connect; just set it up so I can connect later checkbox, and then click on Next button.
Full list of available VPN servers can be found on Members section, (https://members.astrill.com/servers-list.php).
STEP 5
For Username type in your Astrill account email, and for Password type in your Astrill account password.
Click on Remember this password checkbox, and then click on Create button.
STEP 6
Click on Close button.
STEP 7
Click on Network icon in tray, under Dial-up and VPN, right-click on Astrill SSTP, and select Properties.
STEP 8
On Astrill SSTP Properties screen, click on Security tab, for Type of VPN select Secure Socket Tunneling Protocol (SSTP), then click on OK button.
STEP 9
Click on Network icon in tray, under Dial-up and VPN, click on Astrill SSTP, and click on Connect button.
STEP 10
On Connect Astrill SSTP screen, click on Connect button.
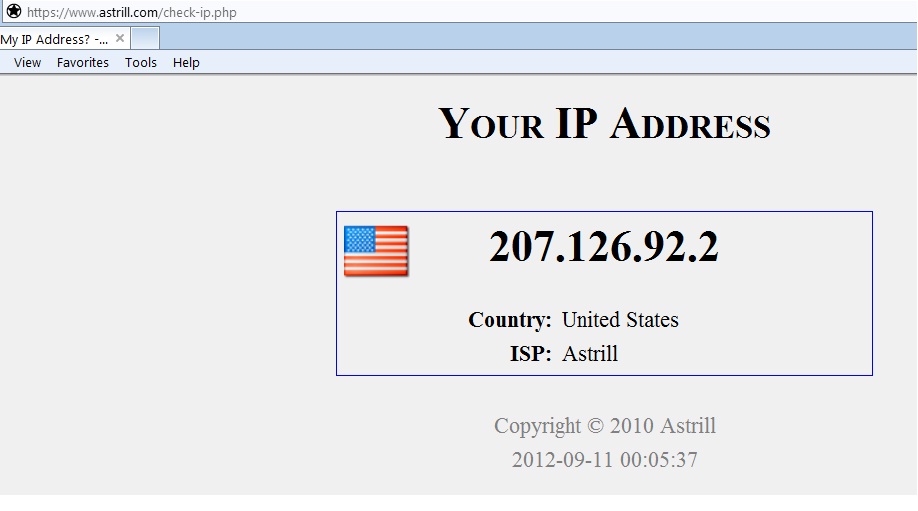
- You can check our IP address just to be sure. https://www.astrill.com/check-ip.php
STEP 11
Click on Network icon in tray, under Dial-up and VPN, click on Astrill SSTP, you will see status connected. Which indicates you are successfully connected to Astrill SSTP VPN.
To disconnect from Astrill SSTP, simply click on Disconnect button.


