How to Fix and Resolve IP Address Conflict Easily

Arsalan Rathore
An IP address conflict occurs when you have two different devices or computers with the same IP address on the network. IP addresses are unique identifiers that allow devices to communicate on a network, so when two devices share the same IP address, it leads to communication problems.
IP address conflicts can result in network disruptions, preventing devices from accessing the internet, communicating with each other, or performing other network-related tasks. Resolving these conflicts is essential to maintaining a smooth and efficient network. Follow this guide to learn how to fix IP address conflict issues quickly.
IP address conflicts are most commonly associated with local area networks (LANs) and home networks. They can be caused by various factors, including issues with the Dynamic Host Configuration Protocol (DHCP) server, manual IP address assignment, or duplicate MAC addresses. Let’s first take a look at the types of IP conflicts!
Table of Contents
Types of IP Address Conflicts
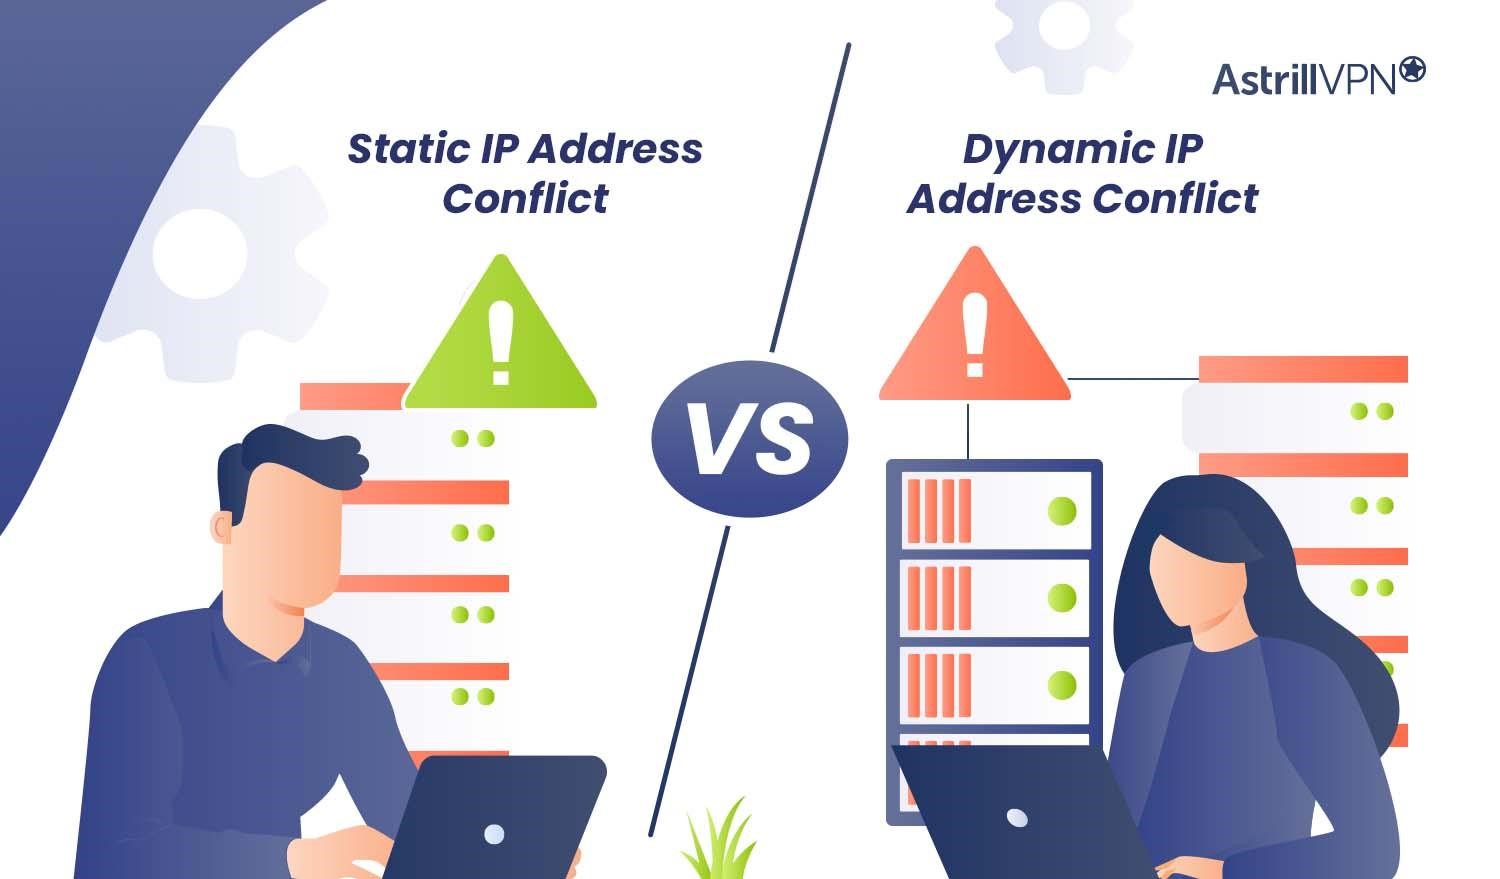
There are two primary types of IP address conflicts:
Static IP Address Conflict
This occurs when a network administrator manually assigns the same IP address to two different devices. It can also happen unintentionally when a device is set with a static IP that’s within the DHCP range, causing a conflict with dynamically assigned addresses.
Dynamic IP Address Conflict
These conflicts occur when a DHCP server in the network inadvertently assigns the same IP address to two different devices. This can happen due to misconfigurations, lease expirations, or the server’s failure to track IP address allocations accurately.
Common Causes of an IP conflict
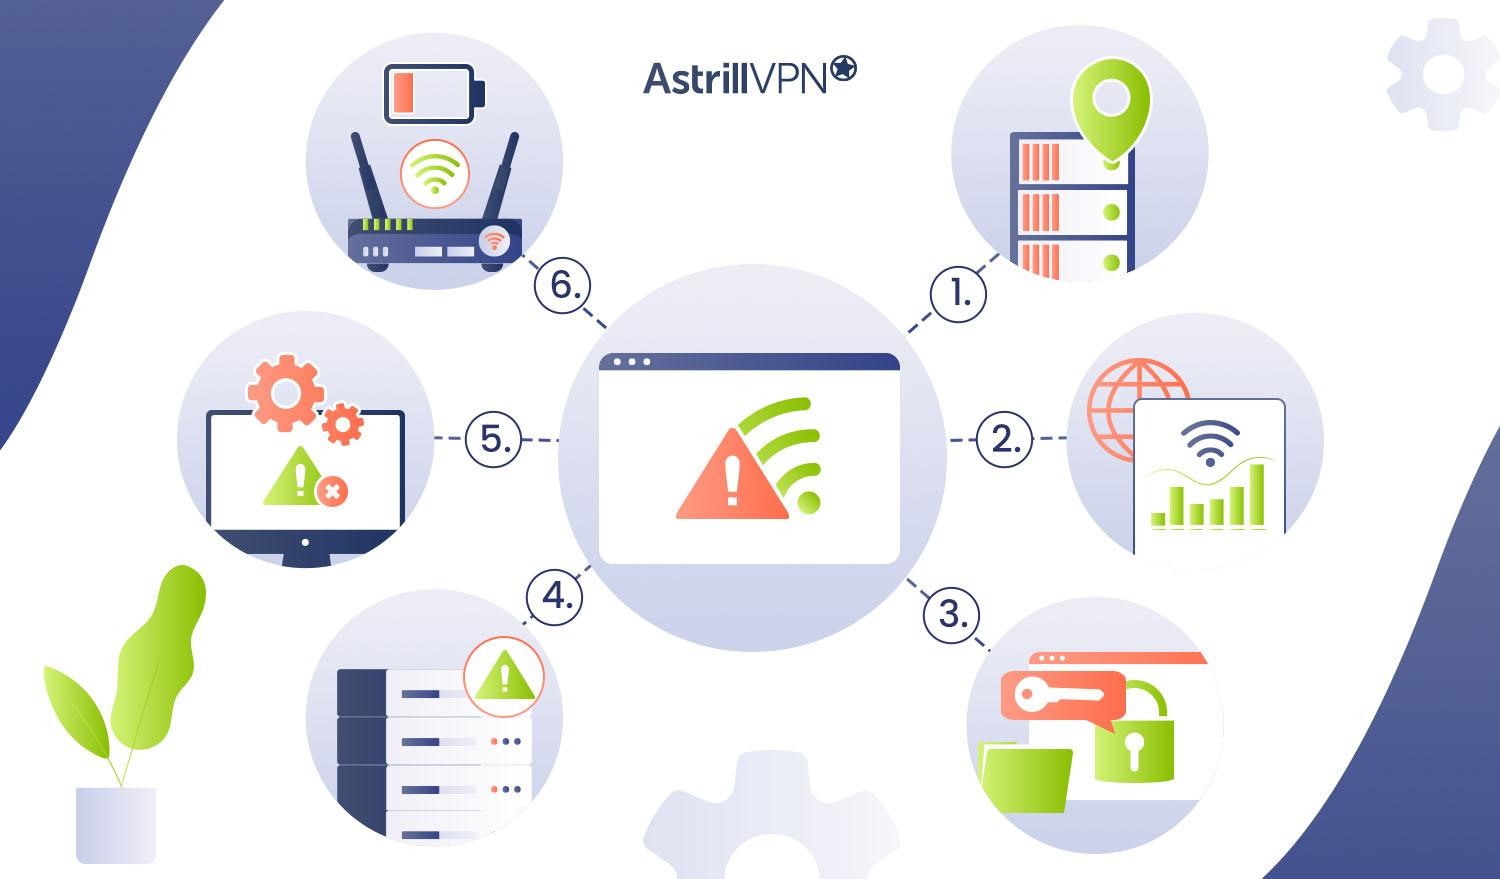
Here are some of the most frequent causes of IP conflicts:
Static IP allocation
One common cause of IP conflicts is the manual assignment of static IP addresses to devices on a network. When a network administrator assigns the same IP address to multiple devices inadvertently, conflicts can arise. Maintaining a record of static IP assignments is essential to avoid such issues.
Using different allocation strategies
In some cases, networks may employ different IP allocation strategies, such as a mix of dynamic and dedicated IP addresses. If not properly managed, this can lead to conflicts when dynamically assigned addresses overlap with statically assigned ones. Consistency in allocation methods is crucial.
BYOD policies
Bring Your Own Device (BYOD) policies in workplaces and educational institutions can lead to IP conflicts. When a variety of personal devices connect to the network, there’s a higher likelihood of duplicate IP addresses, especially if devices have previously used IP addresses from other networks.
DHCP server issues
DHCP server misconfigurations or malfunctions are a significant source of IP address conflicts. This can happen when the server assigns an IP address already in use or fails to update its lease information correctly, causing the same address to be assigned to multiple devices.
Faulty network configurations
Incorrect network configurations, including subnetting errors, can result in IP conflicts. Devices in different network segments may end up with the same IP address, creating communication issues. Ensuring proper network design and configuration is vital.
Router or modem exhaustion
Routers and modems have a limited range of IP addresses they can assign. When all available IP addresses are in use and old leases are not released or renewed, new devices may encounter conflicts when trying to obtain an IP address from the DHCP server.
How to Detect and Prevent IP Address Conflicts
Check for Error Messages
The most common indicator of an IP address conflict is an error message that pops up on a device, stating that another device on the network has the same IP address. If you see this message, it’s a clear sign of a conflict.
Review Network Logs
Routers, switches, and DHCP servers often maintain logs of network activities. Check these logs for entries related to IP address conflicts. The log entries can provide information about the time, devices involved, and the specific IP addresses in conflict.
Use Network Diagnostic Tools
Network diagnostic tools like IP scanner software can help you identify IP address conflicts. These tools scan the network and display a list of all devices with their assigned IP addresses. Duplicates will be easy to spot.
Monitor Network Performance
A sudden drop in network performance, slow data transfer rates, or network instability can be indirect signs of IP address conflicts. Monitor network performance for any unusual behavior.
How does Windows detect IP conflict?
Duplicate IP Address Detection (DAD) is a mechanism Windows uses to detect IP conflicts. When a device connects to a network, it needs a distinct IP address to interact successfully. Windows begins DAD to guarantee that it does not utilize an IP address already used by another device on the same network.
The device initiates DAD by sending an ARP (Address Resolution Protocol) request, a network communication asking, “Who has this IP address?” If no other device responds with the same IP address, the device can be used normally. If another network device is already using that IP address and responds to the ARP request, Windows identifies the conflict.
Windows displays the “Windows has detected an IP address conflict” error message when an IP address conflict is discovered. This notice is given to the user or network administrator when two or more devices attempt to utilize the same IP address simultaneously.
The conflict must be resolved to ensure proper network connectivity and avoid disruptions. The ability of Windows to detect and alert about IP conflicts is critical in ensuring the stability and integrity of local networks.
Quick fixes for the “Windows has detected an IP address conflict” error message
1. Restarting the Router
- To restart your router, locate it physically and unplug the power cable from the back of the router.
- Wait for about 30 seconds, allowing any residual power to dissipate completely.
- Plug the power cable back in and wait for the router to restart fully, which may take a few minutes. You’ll know it’s ready when the lights on the router stabilize.
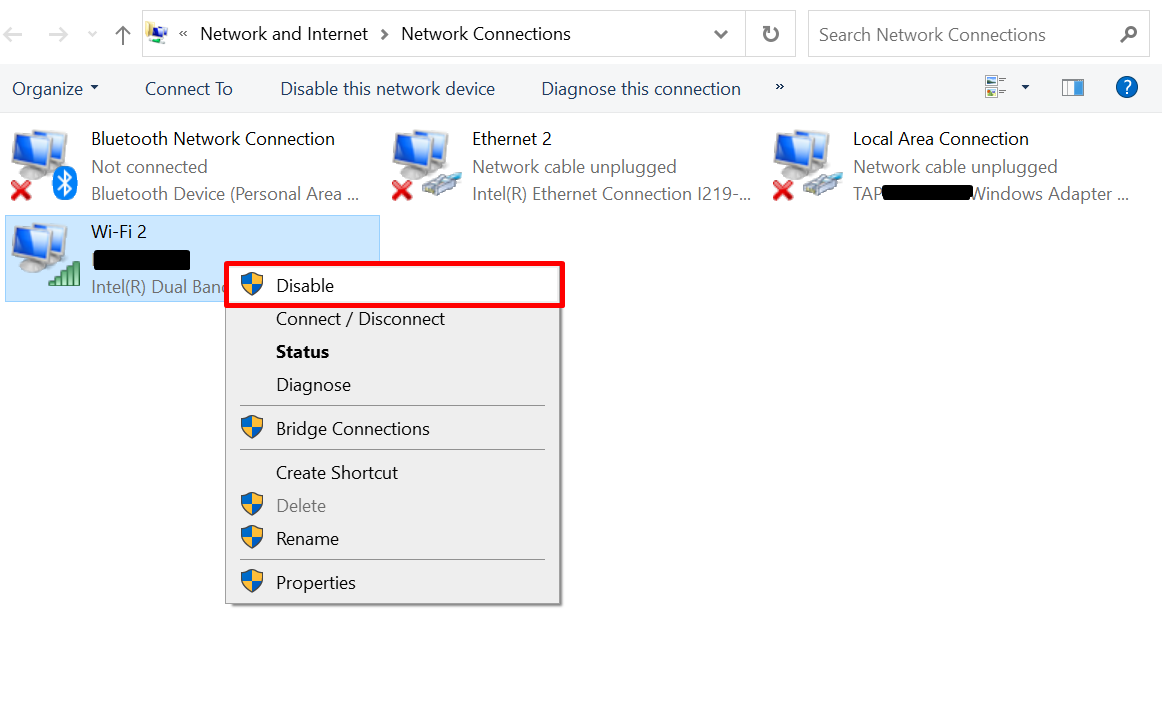
2. Disable then re-enable your network adapter
- Open the “Control Panel”.
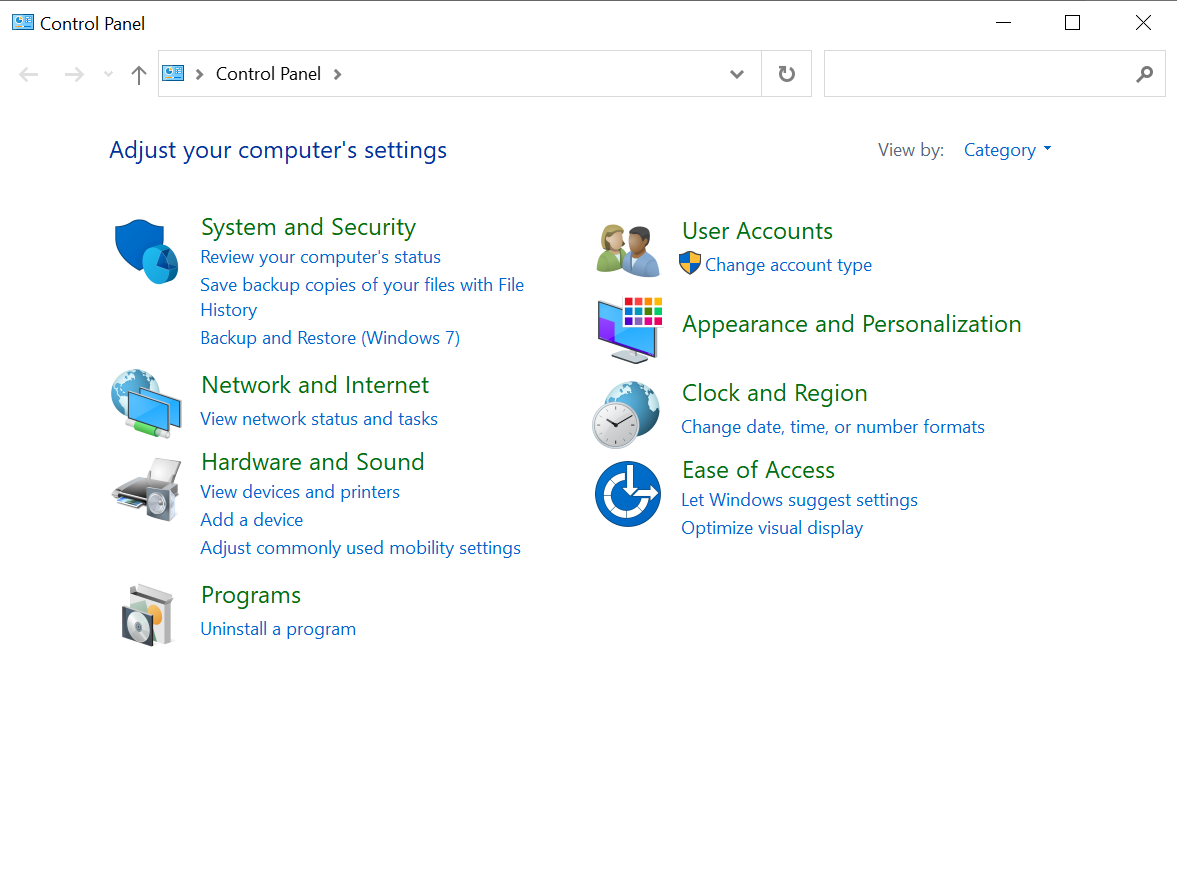
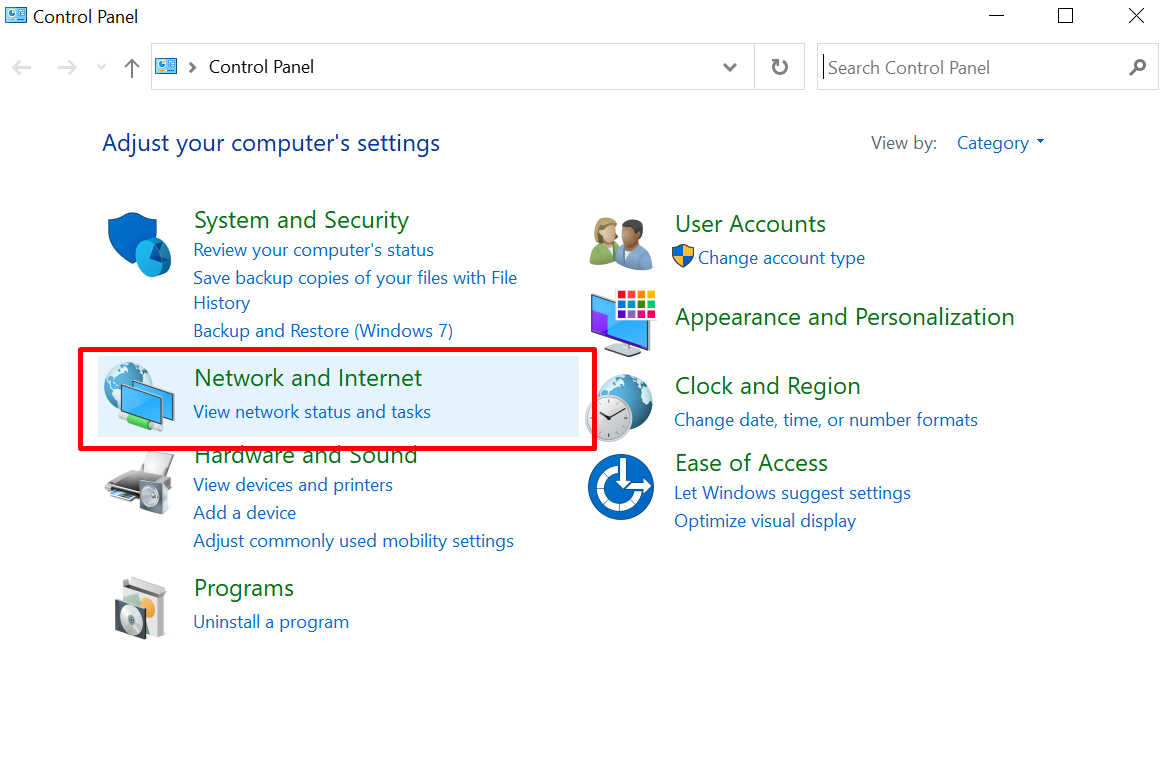
- Go to the “Network and Internet” option.
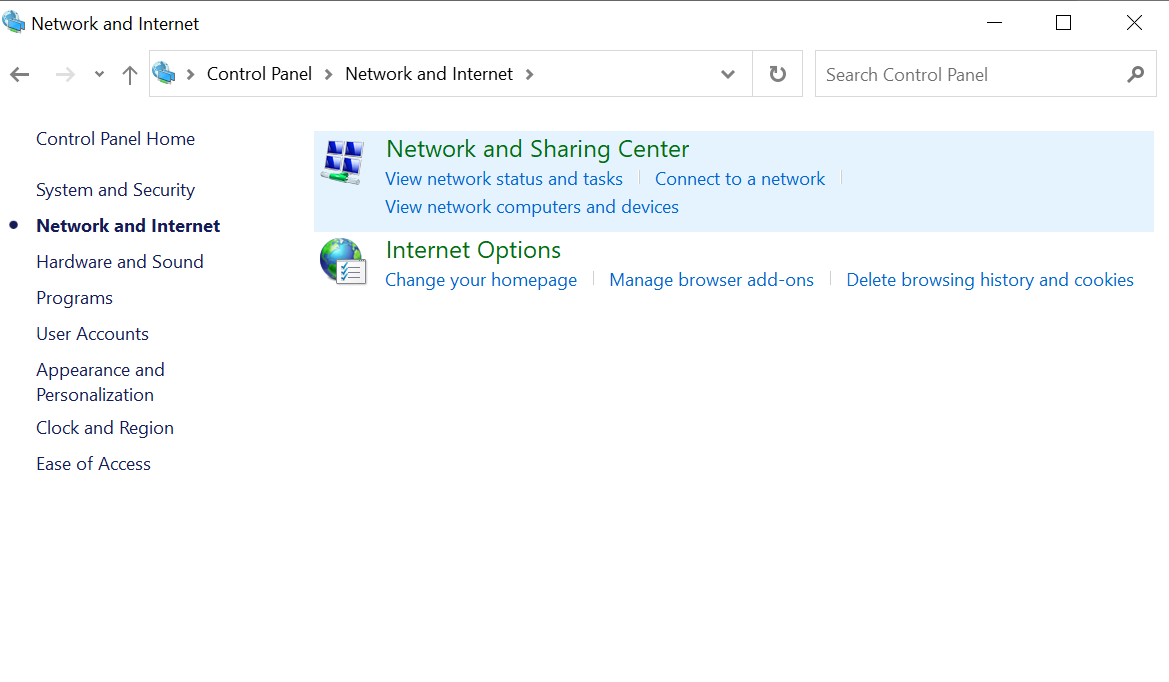
- Select “Open Network & Internet settings” and click “Network and Sharing Center.”
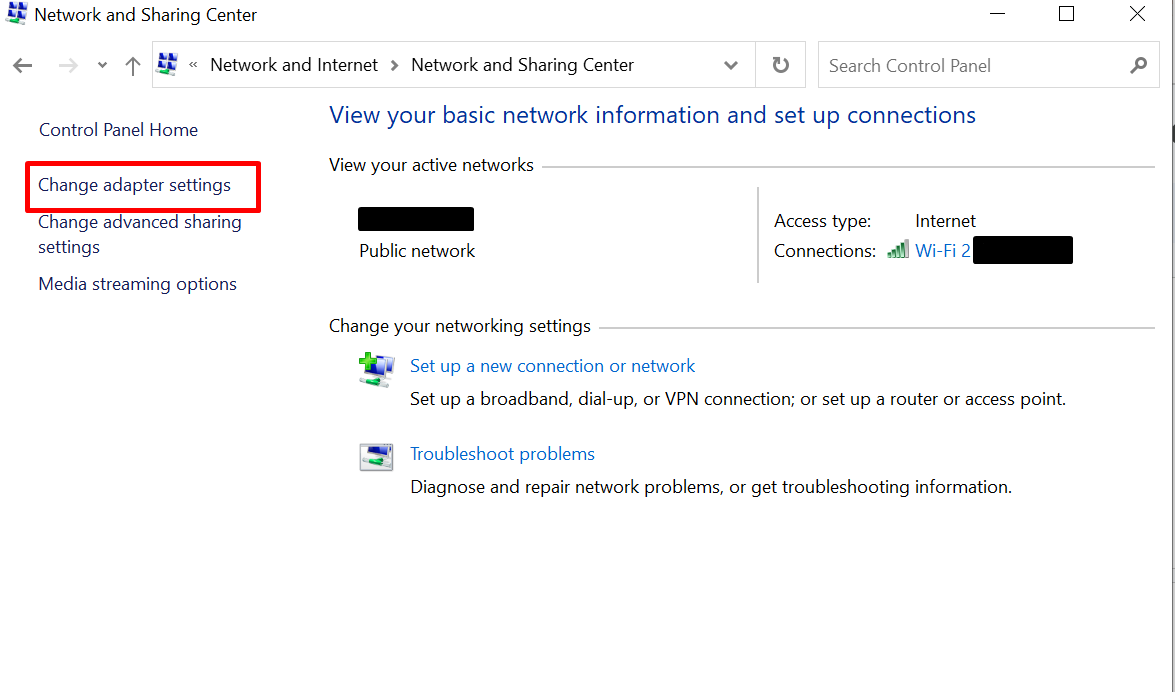
- Click on “Change adapter options” to view a list of your network connections.
- Right-click on your active network adapter and select “Disable.” After a moment, right-click again and choose “Enable” to re-enable it.
3. Release and renew your IP address
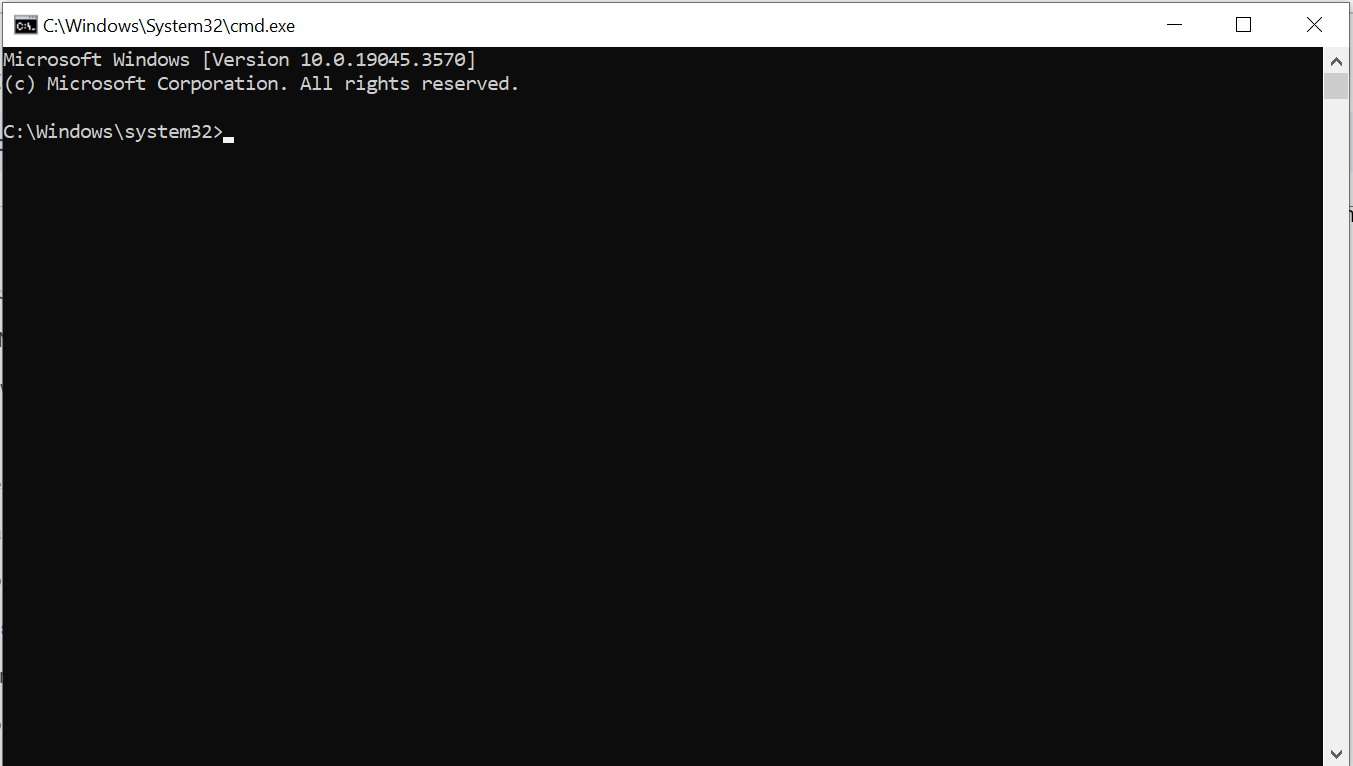
- Type “cmd” in the Start menu to open the “Command Prompt. “
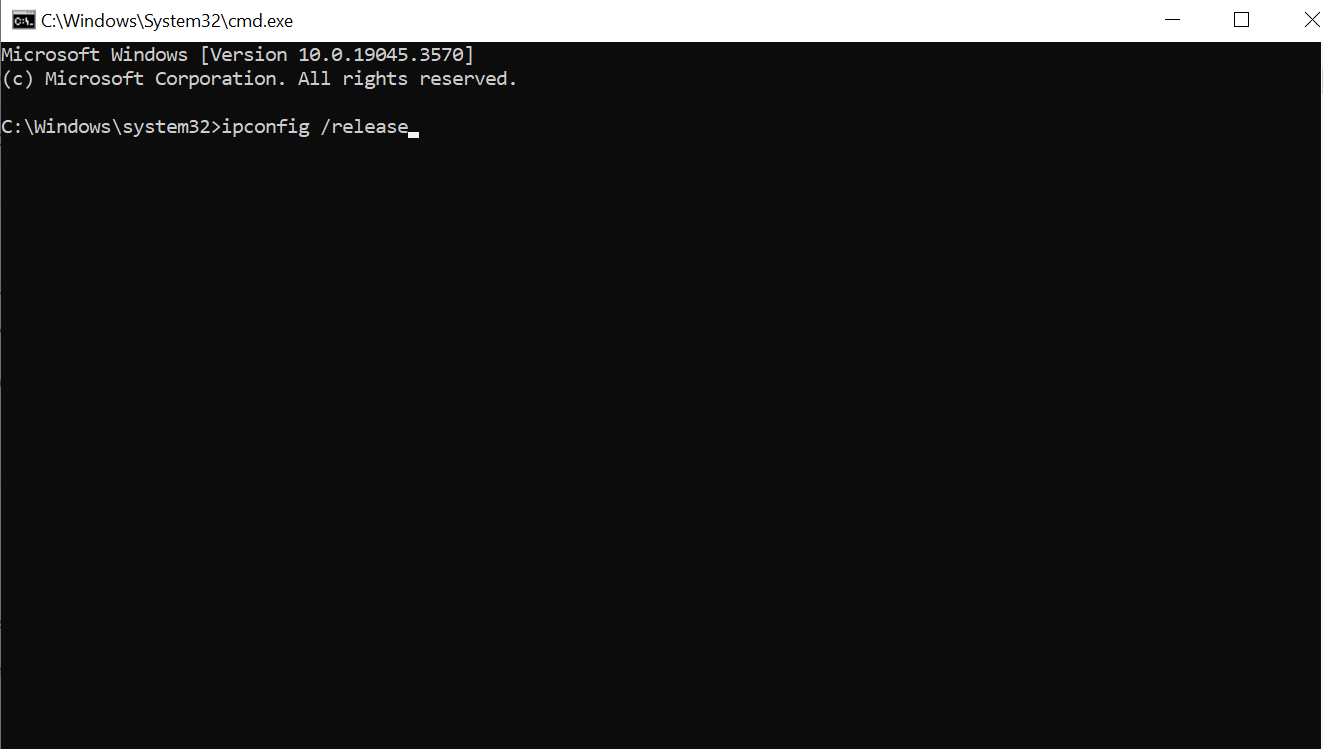
- In the Command Prompt window, type “ipconfig /release” and press Enter. This will release your current IP address.
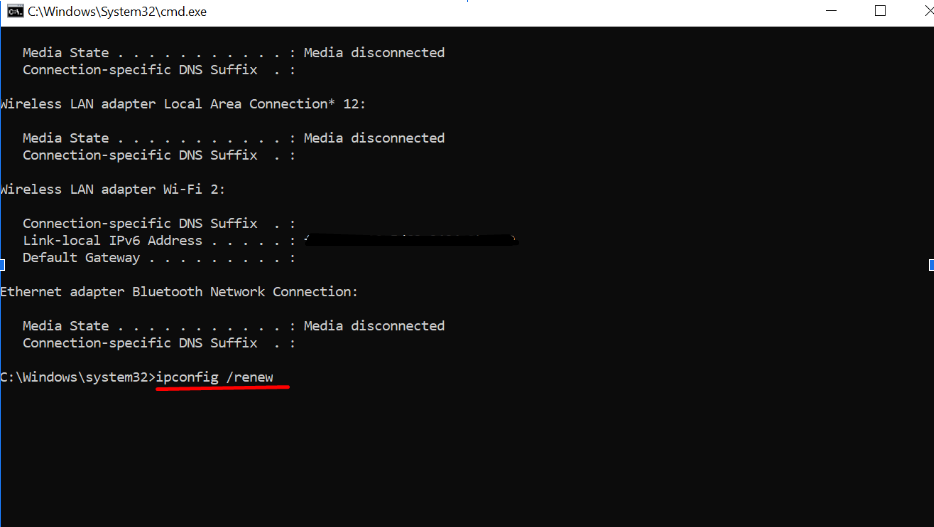
- After the release, type “ipconfig /renew” and press Enter. This will request a new IP address from the DHCP server.
4. use an automatic IP by Removing static IP
- Open the “Control Panel”.

- Go to the “Network and Internet” option.
- Then go to “Network and Sharing Center.”

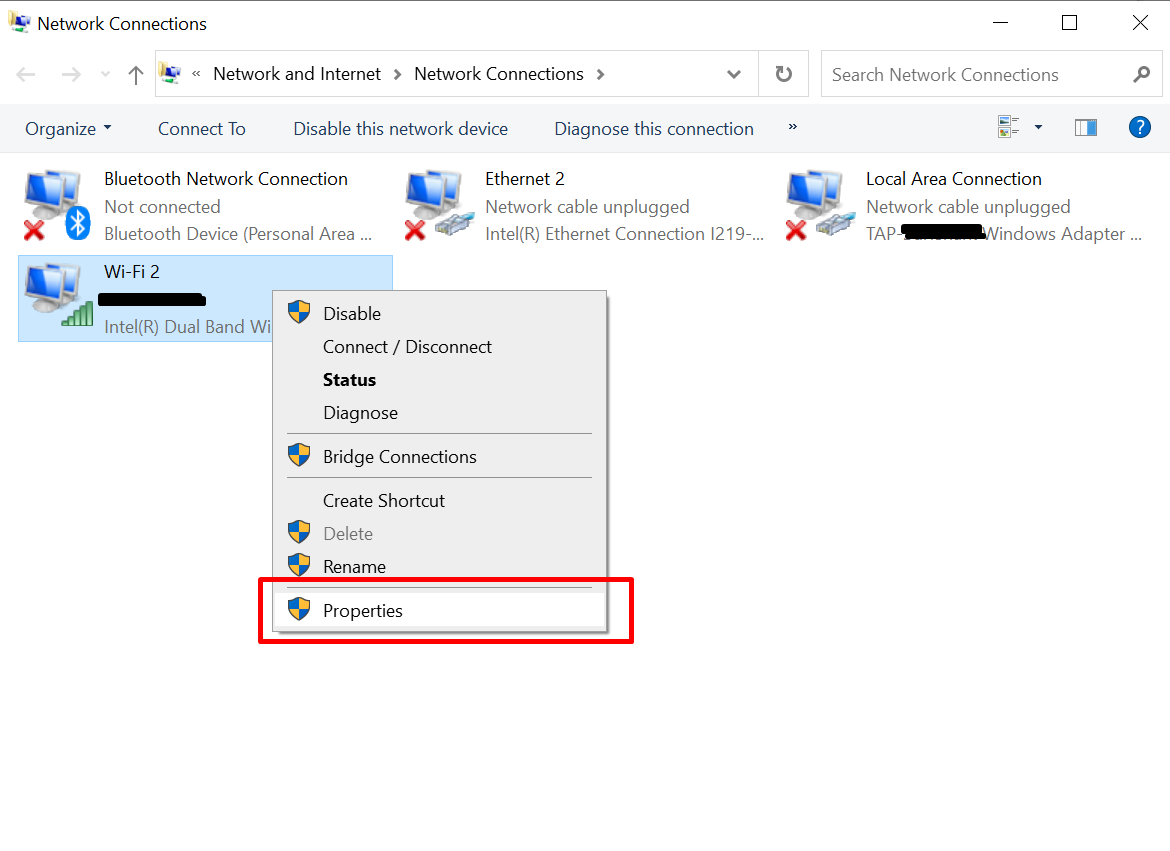
- Click on “Change adapter settings.”

- Right-click on your network adapter and select “Properties.”
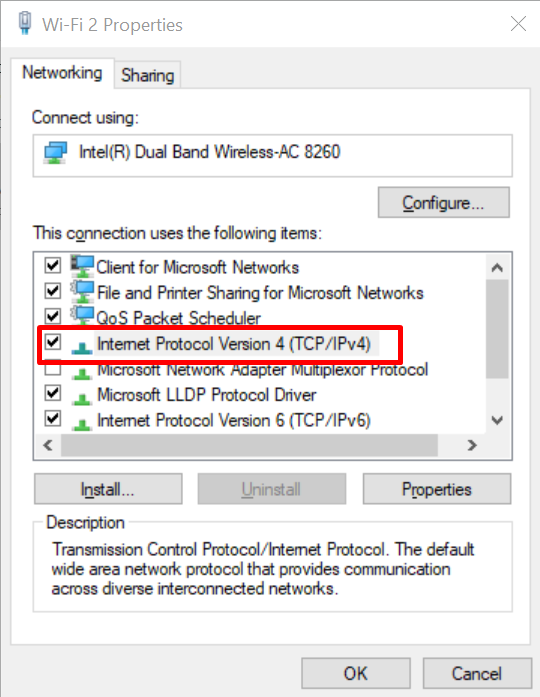
- Locate and double-click on “Internet Protocol Version 4 (TCP/IPv4).”
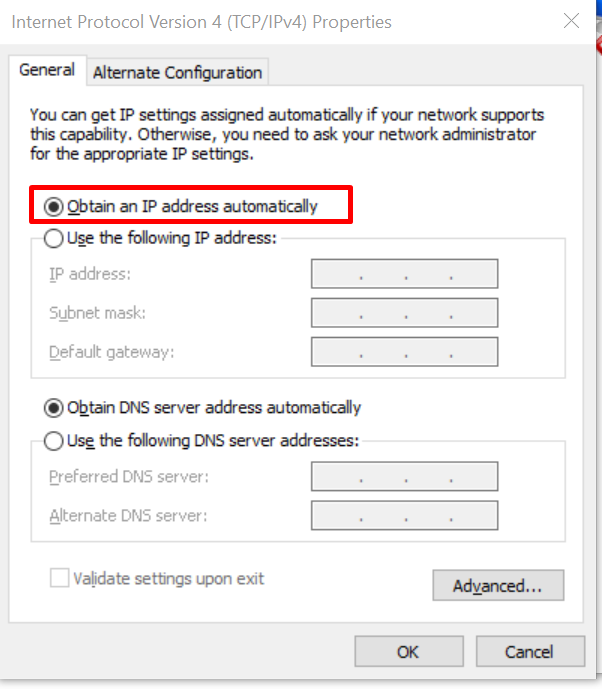
- Ensure that both the IP address and DNS server address settings are set to “Obtain an IP address automatically” and “Obtain DNS server address automatically.”
5. Disable IPv6
- Open the “Network and Sharing Center” from the Control Panel.
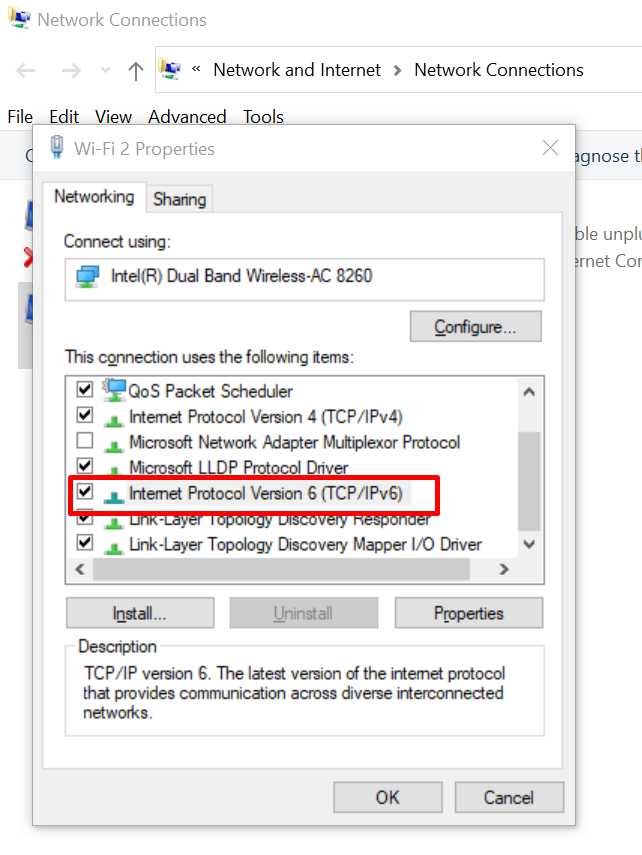
- Click on your network adapter and select “Properties.”
- Uncheck the “Internet Protocol Version 6 (TCP/IPv6)” box to disable IPv6.
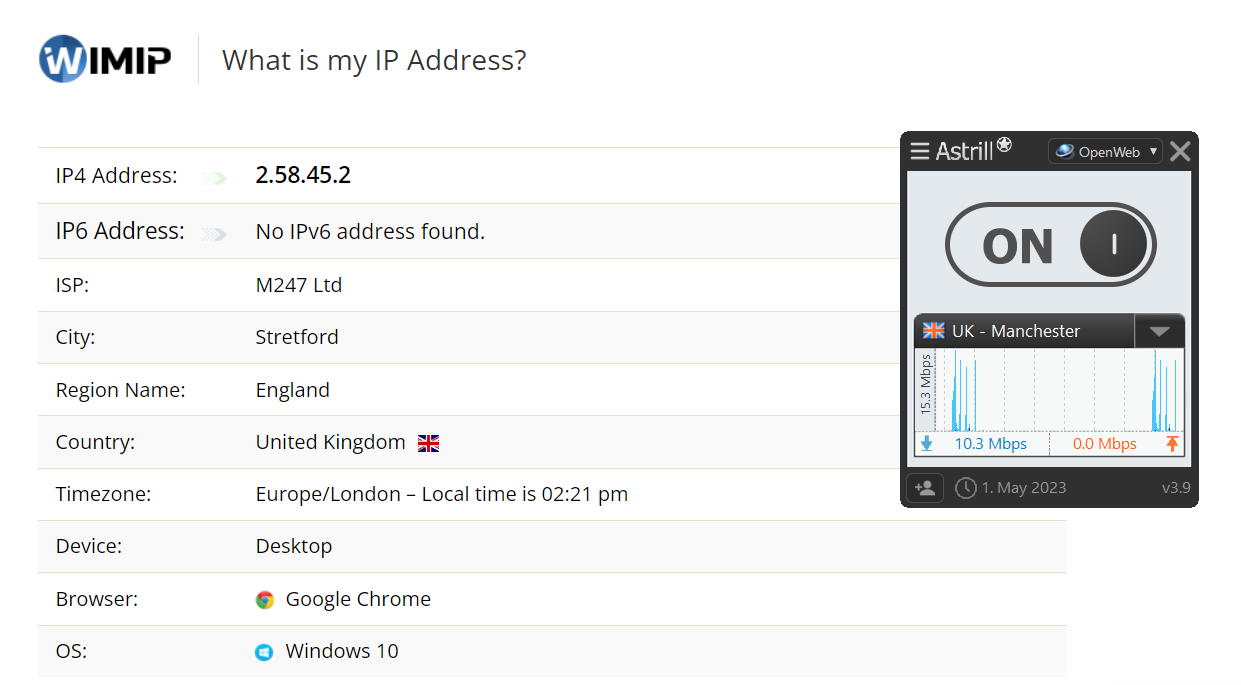
6. Use a VPN to get a different IP address each time
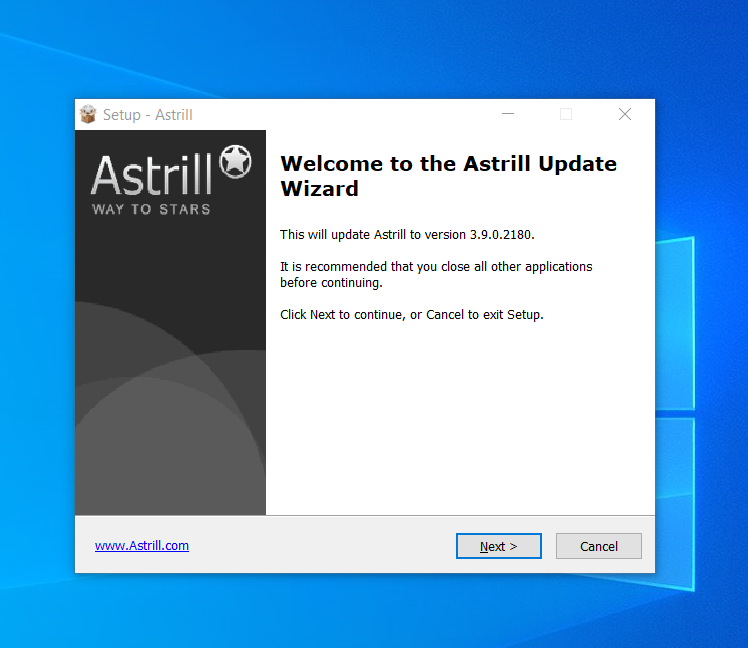
- Install Astrill VPN
- Open the VPN App.
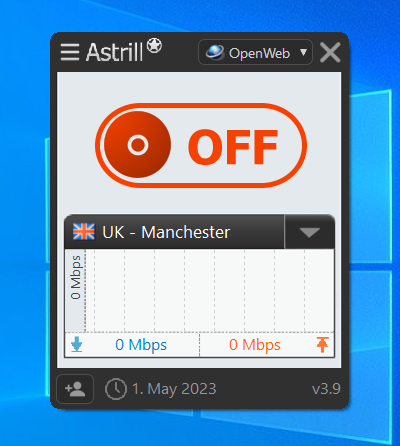
- Turn on the VPN Connection.
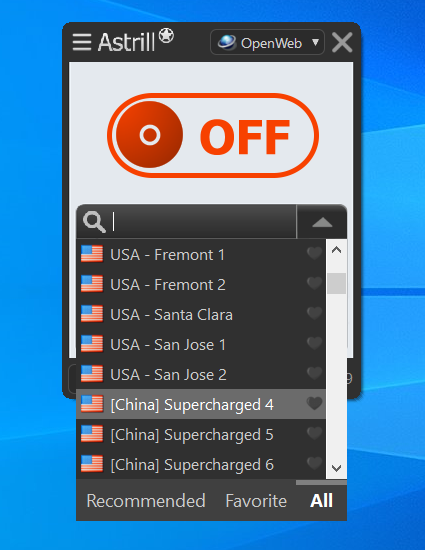
- Select any server and then click the toggle button to switch from ‘Off’ to ‘On’ when the connection is established.
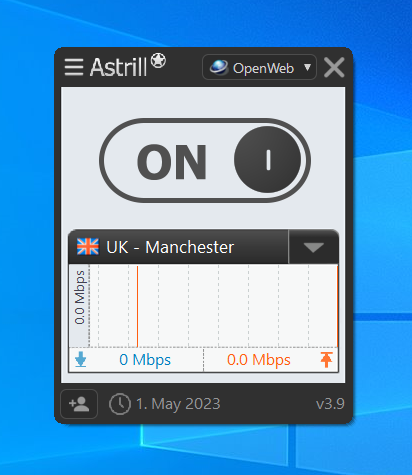
- After connecting to your desired server, check your IP and DNS; they should be changed now.
FAQs
No, a VPN does not cause IP conflicts, but it does help in resolving IP conflict issues. Connecting to a VPN typically assigns you a virtual IP address separate from your local network’s IP addresses.
● Open the Command Prompt as an administrator.
● Type the following command and press Enter: “arp -a.”
● This command will display a list of IP addresses and their corresponding MAC addresses. Look for duplicate IP addresses in the list, which could indicate an IP conflict.
No, you cannot clear or erase your IP address. Your IP address is assigned to you by your Internet Service Provider (ISP) or your local network’s DHCP (Dynamic Host Configuration Protocol) server.

Secure your privacy instantly. Try AstrillVPN with zero risk.
About The Author
No comments were posted yet