How to Fix FPS Drops and Lag in Destiny 2 – Quickly and Easily

Arsalan Rathore
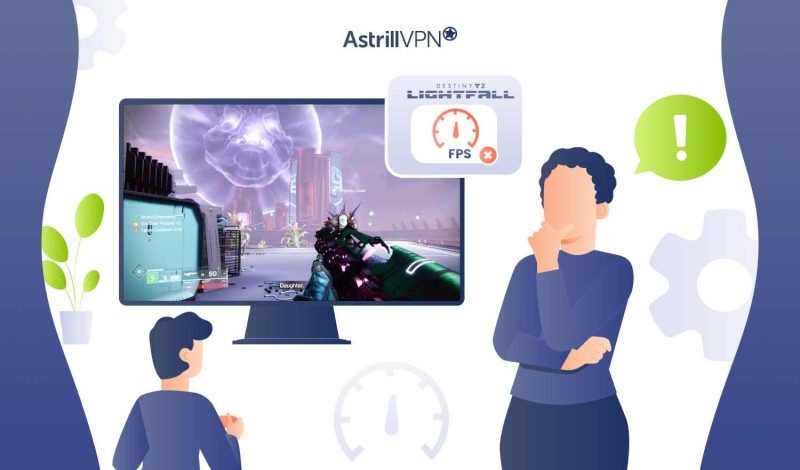
Some users are experiencing performance issues with Destiny 2, despite it being one of the most optimized titles thus far. Obviously, this makes you less formidable in comparison to your competitors and more vulnerable to their attacks.
Gaming issues like lag and FPS drops are frustrating, but you must not give up right away. Improving the ping in the game is as easy as tweaking some settings in the game, optimizing your network, and tweaking your PC.
Go through this in-depth guide to learn how to fix Destiny 2 FPS drops and lag, which can be a major nuisance when playing the game.
Table of Contents
Why Do You Face Lag Spikes in Destiny 2
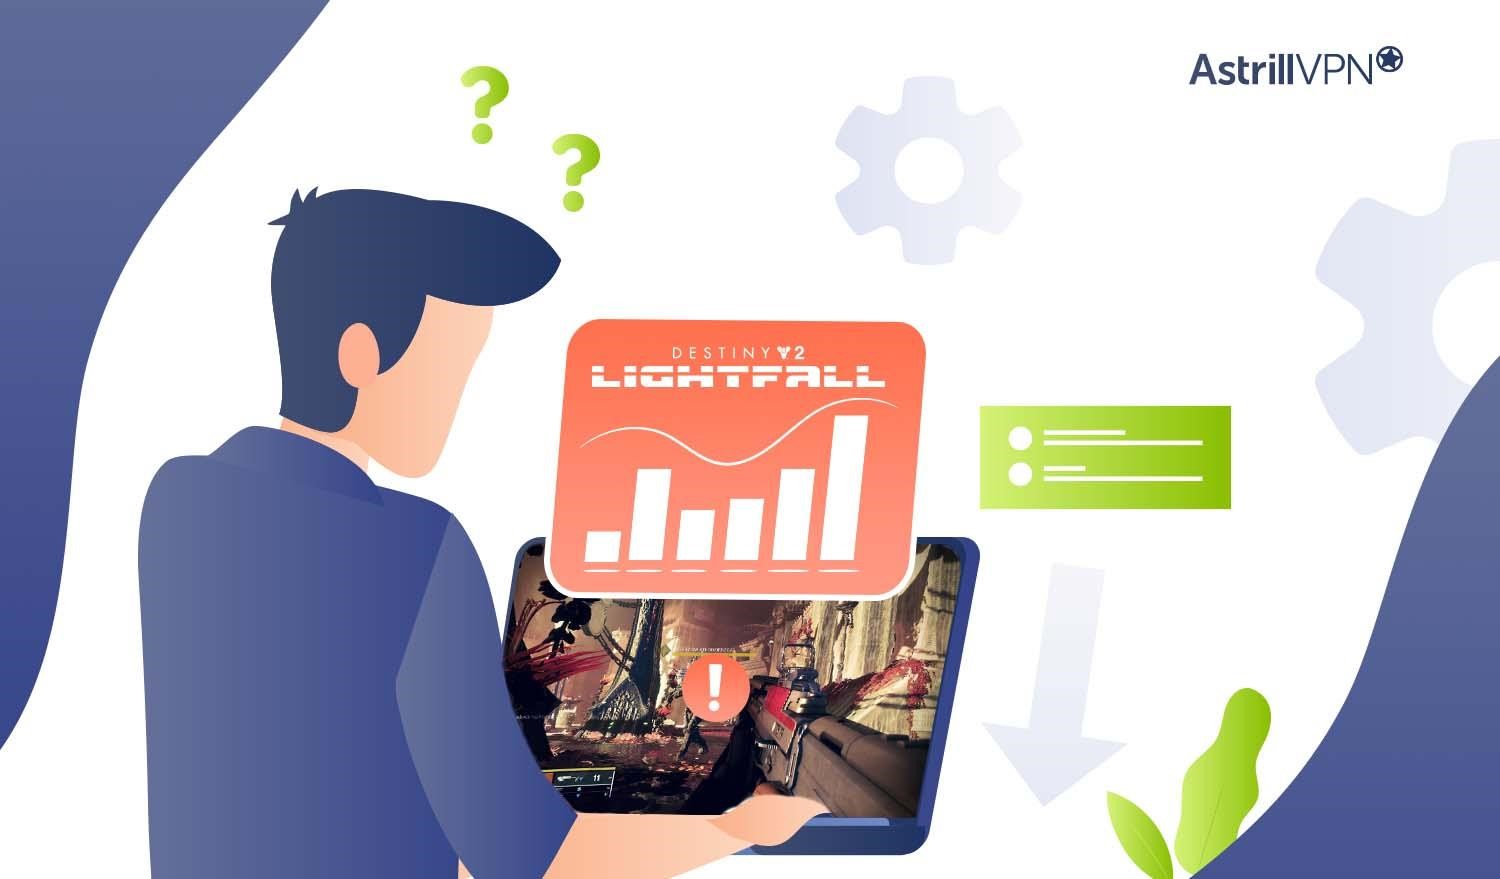
Latency issues, commonly known as lag spikes, in Destiny 2 can be frustrating, disrupting the smooth flow of gameplay and affecting your overall experience. These sudden delays or hiccups can stem from various sources, often related to your internet connection, hardware, or in-game settings.
1. Internet Connection Issues
In online multiplayer games like Destiny 2, a stable and high-speed internet connection is crucial. Latency spikes may occur due to:
- High Latency: Delayed communication between your device and game servers.
- Packet Loss: Data packets get lost in transmission, leading to inconsistencies in gameplay.
- Network Congestion: Overloaded networks causing data delays and interruptions.
2. Server Problems
Destiny 2’s servers might encounter issues that affect all connected players, resulting in lag spikes for everyone. These problems could include:
- Server Overload: High traffic or technical difficulties overwhelming the game servers.
- Maintenance or Downtime: Scheduled or unscheduled maintenance impacting server performance.
3. Hardware Limitations
Your gaming device’s capabilities might affect gameplay, leading to lag spikes due to:
- Insufficient Specs: Inadequate hardware not meeting the game’s requirements, causing performance issues.
- Overheating or Resource Consumption: Hardware overheating or resource-heavy processes affect smooth gameplay.
4. Background Processes
Other applications running alongside Destiny 2 might consume resources and impact performance by:
- Bandwidth Usage: Concurrent downloads, updates, or background applications using bandwidth.
- System Resource Consumption: Other programs utilizing CPU or RAM affect the game’s performance.
5. In-game settings and Configurations
Incorrect or demanding in-game settings can contribute to lag spikes, such as:
- High Graphics Settings: Demanding graphical settings that strain the hardware.
- Network Settings: Configurations impacting data transmission or network performance within the game.
11 Tested Methods to Resolve Destiny 2 Lag Spikes
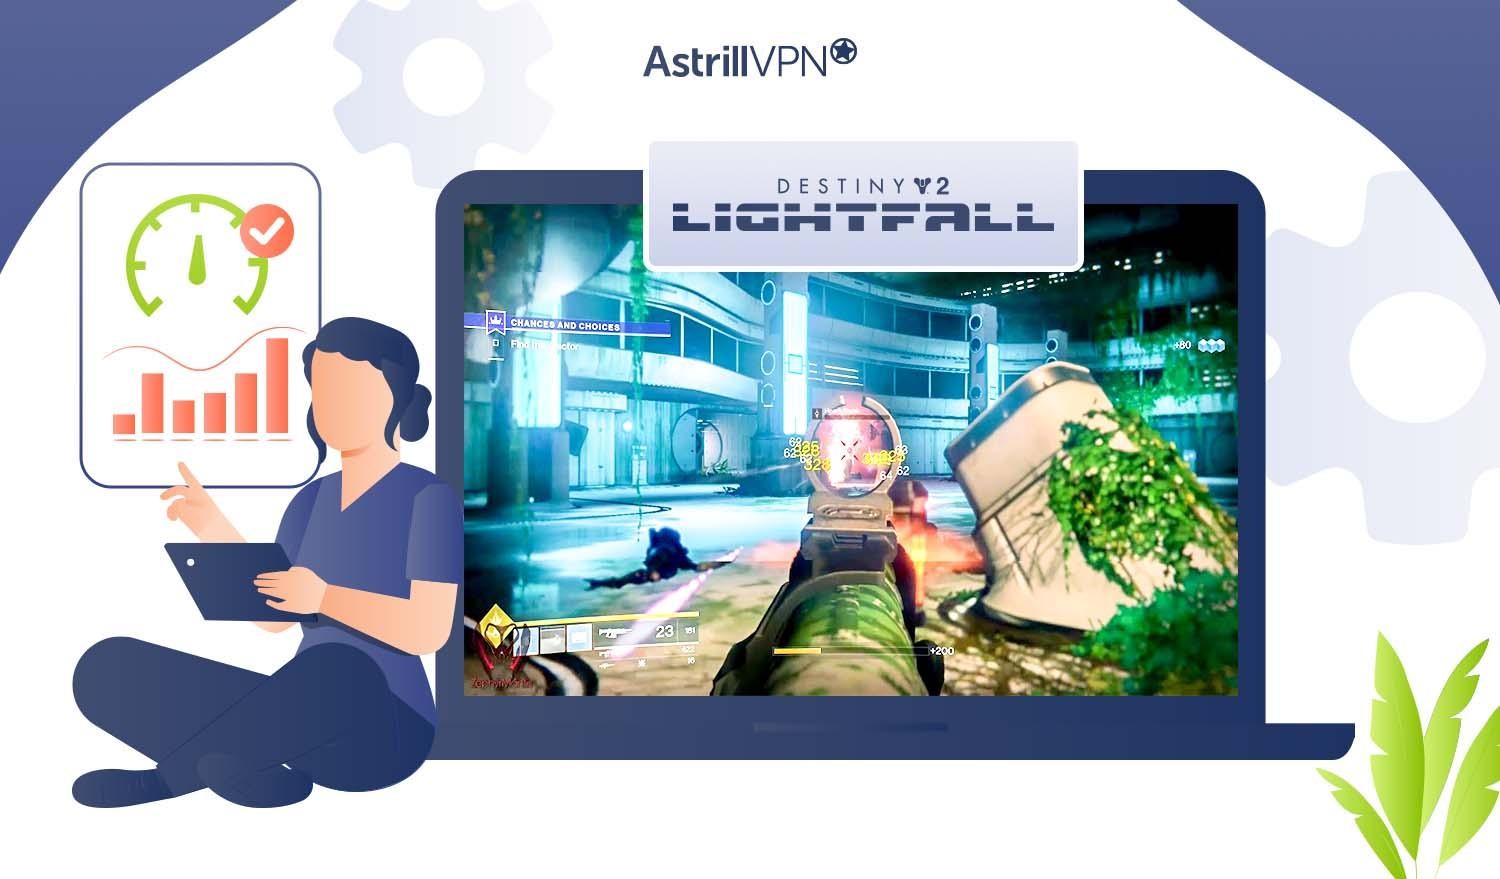
Here are 11 tested methods to resolve Destiny 2 lag spikes:
1. Change the game settings
Optimizing game settings can significantly fix lag spikes in Destiny 2. To do this, follow these steps:
● Graphics Settings
Lowering graphics settings such as texture quality, shadow quality, and effects can ease the load on your hardware. Try reducing the settings incrementally to find the right balance between performance and visual quality.
● Resolution and Display Settings
Lowering the resolution or playing the game in windowed mode can alleviate lag spikes. Experiment with different resolutions to see what works best for your system.
● V-Sync and Framerate Limit
Enabling V-Sync or setting a frame rate limit can stabilize performance by preventing excessive strain on your GPU. This can prevent sudden spikes and drops in frame rates.
● Network Settings
Adjusting network-related settings, like reducing the bandwidth allocated to the game or optimizing your router settings for gaming, can help reduce lag caused by network issues.
2. Update device drivers
Updating device drivers is crucial for maintaining optimal performance in Destiny 2. Outdated drivers, especially graphics card drivers, can often lead to lag spikes and performance issues. To update drivers, identify your hardware components, particularly the graphics card, and visit the manufacturer’s official website—like NVIDIA, AMD, or Intel.
Download the latest drivers compatible with your specific hardware model. Install the updated drivers and restart your system to ensure the changes take effect.
Regularly checking for driver updates, not just for the graphics card but also for other essential components like sound cards or network adapters, is essential for a smoother gaming experience and improved system stability.
3. Clear the game cache
Regularly clearing the game cache can help maintain game performance and prevent potential issues from corrupted cache files.
Follow these simple steps to clear game cache:
- Open the Run terminal by pressing Win + R and paste: %appdata%.
- Click OK.
- Search for the folder named “Bungie”.
- Open it and delete the DestinyPC folder.
- Now the game will automatically build new caches when you restart it.
On consoles like PlayStation or Xbox, clearing the game cache might involve uninstalling and reinstalling the game. However, before doing so, ensure your game progress is saved in the cloud or backed up to prevent data loss.
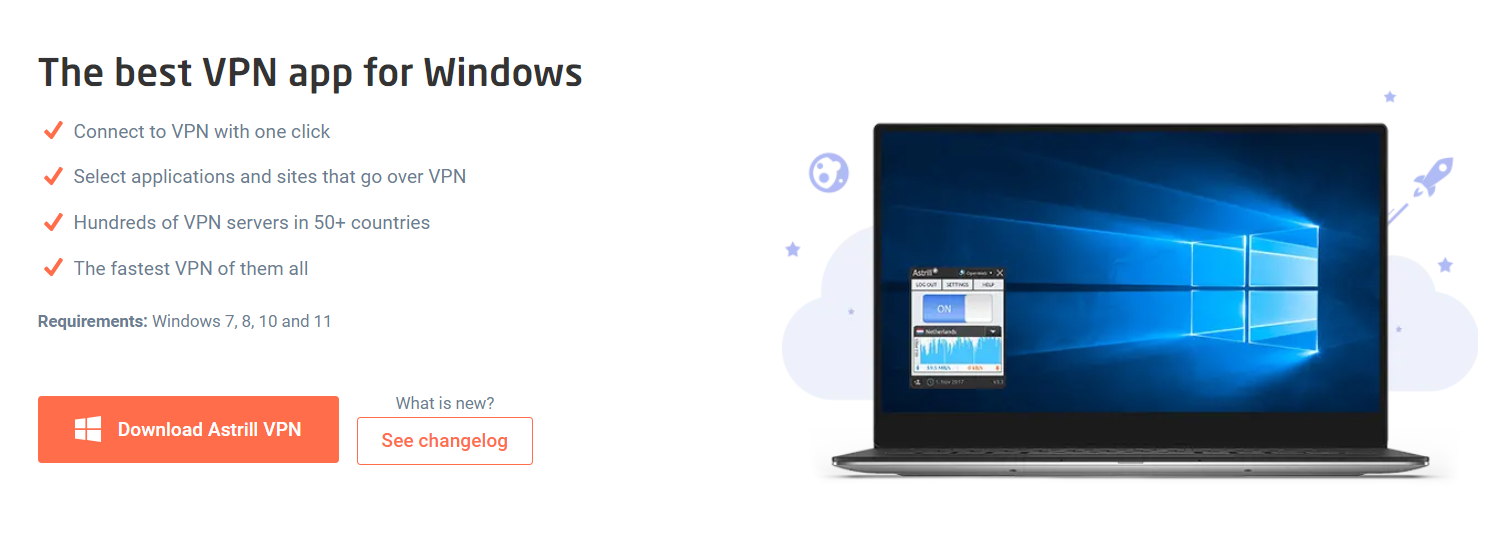
4. Use a VPN for Destiny 2
Utilizing a VPN for gaming, including Destiny 2, can offer advantages such as unthrottled and seemingly limitless bandwidth on VPN servers. While VPNs do tout these benefits, their effect on gaming performance, particularly concerning latency and ping reduction, can vary.
AstrillVPN bypasses bandwidth throttling imposed by Internet Service Providers (ISPs) and provides servers with high-speed, unrestricted bandwidth access. This leads to reduced latency and ping times, ultimately enhancing the gaming experience in Destiny 2.
Apart from this, a VPN will also protect you from a DDoS Attack on Destiny 2. Gaming can be fun but at the same time it’s very risky. DDoS attacks are a common thing and to protect yourself from it, you must encrypt your online traffic by using a VPN.
5. Disable in-game overlays
In-game overlays from applications like Discord, Steam, or GeForce Experience can sometimes conflict with Destiny 2, causing performance issues and lag spikes. Turning off these overlays can often resolve conflicts and improve the game’s performance.
To turn off in-game overlays, access the settings or preferences within each respective application and look for options related to in-game overlays. Turn off these overlays individually or for Destiny 2 specifically.
Doing so prevents additional processes from running alongside the game, reducing the strain on system resources and resolving any performance-related issues caused by conflicting overlays.
6. Verify the Integrity of Destiny 2: Lightfall’s Game Files
Verifying the integrity of game files ensures that Destiny 2’s game files are complete and uncorrupted. This process can help fix any issues stemming from corrupted or missing game files, which might be causing lag spikes or other performance problems.
To verify the integrity of Destiny 2’s game files, if you’re on Steam, right-click Destiny 2 in your game library, select Properties, go to the Local Files tab, and click “Verify Integrity of Game Files.” Check their settings or options for other platforms or launchers to find a similar feature.
This process will scan the game files, compare them to the original versions, and replace any corrupted or missing files, ensuring the game runs smoothly without any performance disruptions caused by faulty game data.
7. Enable Game Mode in Windows 11
Windows 11 offers a dedicated Game Mode feature designed to optimize system resources for gaming, potentially reducing lag and enhancing gaming performance. To enable Game Mode, follow these steps:
- Go to Settings by clicking the Start menu and selecting the gear-shaped icon.
- Within Settings, navigate to Gaming.
- Locate the Game Mode option and toggle it ON to enable this feature.
Game Mode prioritizes system resources for gaming applications, minimizing background processes to enhance the performance of games like Destiny 2. Enabling Game Mode can lead to a more streamlined gaming experience by focusing system resources on the game itself.
8. Select the High-Performance Power Option
Choosing the High-Performance Power Plan in Windows 11 ensures that your system operates at its maximum potential, which can significantly impact gaming performance. To switch to the High-Performance Power Plan:
- Go to Settings and select System.
- Choose the Power & Battery tab.
- Click on Additional Power Settings.
- From the list of available power plans, select High-Performance.
This setting ensures that your computer operates at maximum performance capacity, reducing potential bottlenecks that might cause lag spikes in games like Destiny 2.
9. Update Windows Performance Settings
Adjusting Windows performance settings can further optimize your system for gaming:
- Access Settings and navigate to System.
- Click on About and select Advanced System Settings.
- Under the Performance heading, click on the Settings button.
- Choose “Adjust for best performance” or customize settings by selecting “Custom” and disabling visual effects that aren’t necessary for gaming.
- In the same window, navigate to the Advanced tab and click on Settings under Performance.
- Under the Advanced tab, adjust the Virtual Memory (paging file) settings, ensuring that Windows manages it automatically or set a custom size to improve system performance.
10. Close background apps
Running multiple background applications while playing Destiny 2 can strain system resources, leading to lag spikes and performance issues.
Closing unnecessary background apps before launching Destiny 2 is essential to enhance gameplay stability. Identify resource-intensive programs running in the background, such as web browsers with multiple tabs, music or video streaming apps, or software updating processes, and close them.
Task Manager on Windows or Activity Monitor on macOS can identify and terminate these applications. By freeing up system resources, you allow Destiny 2 to utilize more of your system’s power, potentially reducing lags and providing a smoother gaming experience.
11. Install the game on an SSD
Moving Destiny 2’s installation from a traditional Hard Disk Drive (HDD) to a Solid State Drive (SSD) can significantly enhance the game’s performance and overall gaming experience. SSDs excel in speed and efficiency compared to HDDs due to their faster read and write speeds.
By installing Destiny 2 on an SSD, the game benefits from quicker data access and reduced loading times. The faster data transfer rates of SSDs allow the game to load assets such as textures, environments, and in-game elements more rapidly.
Consequently, this reduces strain on the system resources during gameplay, leading to smoother performance and reduced instances of lag spikes or stuttering issues in Destiny 2.
What Factors to Consider When Choosing a VPN?
When selecting a VPN, several critical factors should be considered to ensure you choose a service that aligns with your needs and priorities:
1. Security and Privacy
When assessing a VPN’s security features, it’s essential to consider the encryption protocols it employs. Look for VPN services that utilize robust encryption methods like OpenVPN, IKEv2/IPsec, or WireGuard, ensuring your online activities and data transmissions remain secure and protected from potential eavesdropping or cyber threats.
Additionally, prioritize VPN providers with a strict no-logs policy, assuring that they don’t store any records of your browsing history or online behavior, thus maintaining your privacy.
2. Server Locations and Coverage
A VPN’s server network and coverage are vital to its effectiveness. Opt for a VPN service with a broad and diverse range of server locations across multiple countries. A wide server network allows for better access to geo-restricted content. It ensures improved performance by allowing users to connect to servers closer to their physical location, minimizing latency and enhancing speed.
3. Bandwidth and Speed
Unlimited bandwidth and consistent high-speed connections are crucial factors for a VPN service. Look for VPNs offering unlimited bandwidth to prevent any restrictions on data usage. Moreover, choose VPN providers known for maintaining high-speed connections, even while the VPN is in use. This ensures a smooth and uninterrupted browsing or streaming experience without compromising speed.
4. Device Compatibility and Simultaneous Connections
Consider a VPN that supports multiple device platforms such as Windows, macOS, iOS, Android, Linux, and routers. Compatibility across various devices allows for versatility and convenience. Additionally, check the VPN’s policy on simultaneous connections; some VPNs permit multiple devices to be connected under a single subscription, enabling users to protect multiple devices simultaneously.
5. User-Friendly Interface and Features
A user-friendly interface enhances the overall experience of using a VPN. Seek VPNs with intuitive interfaces and straightforward setup processes, making navigating through features and settings easier for users. Additionally, consider VPNs offering extra features like a kill switch, split tunneling, or ad-blocking capabilities, providing added security layers and customization options.
6. Customer Support and Reliability
Reliable customer support is crucial in case of any technical issues or inquiries. Look for VPN providers offering responsive customer support through various channels such as live chat, email, or ticket-based systems. Choosing a VPN known for its reliability, minimal downtime, and consistent service uptime is also important to ensure a smooth and uninterrupted connection.
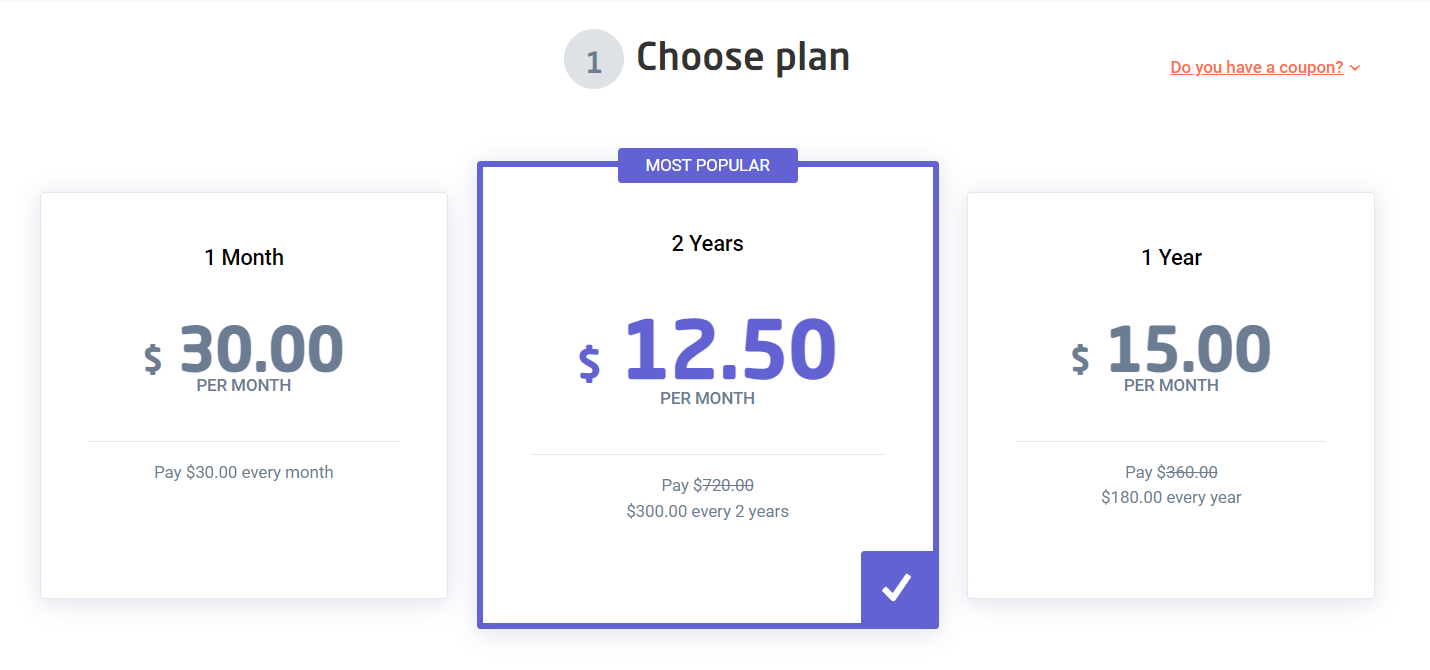
7. Price and Subscription Plans
Compare pricing plans and subscription options among different VPN providers to find one that suits your budget and offers the needed features. Consider factors like the duration of subscription plans, any discounts for longer-term commitments, and the availability of trial periods or money-back guarantees. This allows you to test the VPN service before fully committing and ensures cost-effectiveness according to your preferences and requirements.
How to Use AstrillVPN for Destiny 2?
Follow these 5 simple steps to fix overwatch lag spikes quickly:
- Sign up for AstrillVPN from the official website
- Download and install its app for your device.
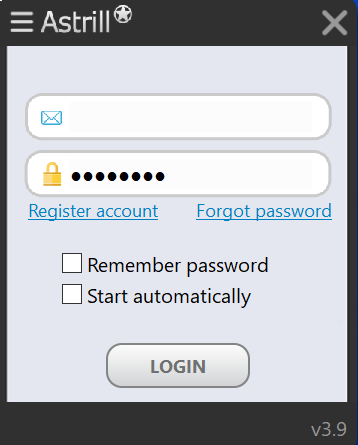
- Open the app and log in using your credentials.
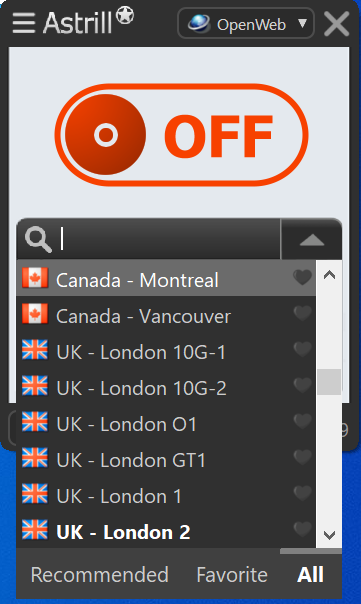
- Connect to your nearest server from the servers list.
- Now, launch the Game and start playing without any FPS drops and lags.
Boost FPS and Reduce Lag – Try AstrillVPN Today
FAQs
Your system should have at least 6 GB of RAM to run the game well, but 8 GB is ideal. While more than 8 GB isn’t strictly necessary for playing Destiny 2, it won’t hurt either.
Data use in Destiny 2 might exceed the typical online game, reaching 250 GB to 300 GB per hour. Turn off auto-updates and install updates manually when you have extra data if you’re worried about updates pushing you over your monthly data limit.
You should activate VSync if screen tearing is interrupting your gaming experience and produces screen tears frequently.
If you’re on Destiny 2 and have been playing it for a while but suddenly notice a big screen tearing every time you move, and you’ve never experienced it before, don’t worry. There are easy and simple ways that you can fix this issue, and these include:
1. Go to the NVIDIA Control Panel and force enable v-sync for Destiny 2.
2. Click the’ Program settings’ tab in the ‘Manage 3D settings window’ tab.
3. Select Destiny 2 as the program you’d like to customize. It will take some time to load.
4. Once the settings list has loaded, scroll down to ‘Vertical Sync.’
5. Set it to’ On’ to clear up your screen tear issues.

Secure your privacy instantly. Try AstrillVPN with zero risk.
About The Author
No comments were posted yet